MAC Mail Setup 

This guide will help you set up your MAC Mail email program. The screen shots below may look different from the version that is installed on your computer.
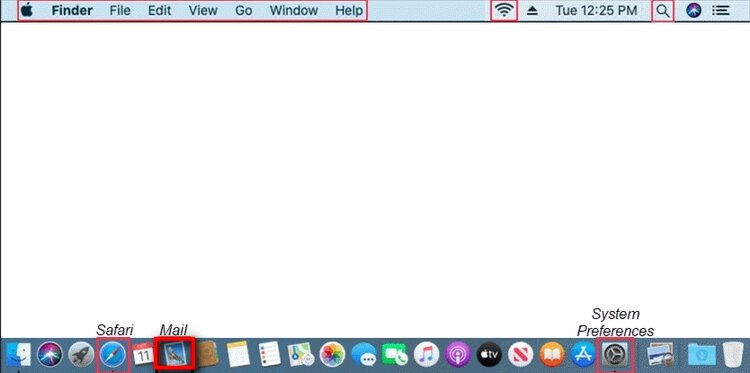
Screenshot of a Mac desktop showing the menu bar at the top and the dock at the bottom, with icons for Safari, Mail, Finder, system preferences, and other applications.

Step 1. Open Mail

Screenshot of the Mail menu in a Mac email application showing options: About Mail, Preferences, Accounts, Add Account, Services, Hide Mail, Hide Others, Show All, and Quit Mail.

Step 2. Select Mail > Add Account...

Step 3. Choose Other Mail Account... and click Continue

Screen showing options to choose a mail account provider, including iCloud, Exchange, Google, Yahoo!, AOL, and Other Mail Account, with a 'Continue' button highlighted.
Screen capture of an email account registration form with fields for name, email address, and password, and a blue 'Sign In' button.

Step 4. From the Add Account window, enter your Name, Email Address and Password
Click Sign In

Step 5. Enter Mail Server Settings

  1. Enter Email Address

  2. Enter your correct User Name (ex: myemail@lingonetworks.net) and Password

  3. Select IMAP from the drop-down

  4. In the Incoming Mail Server field enter:  imap.lingonetworks.net

  5. In the Outgoing Mail Server field enter: smtp.lingonetworks.net

  6. Click Next

Screenshot of an email account setup page showing an error message, with fields for email address, user name, password, account type, incoming and outgoing mail servers, and buttons for cancel, back, and next.
Screen showing app selection with Mail and Notes checked, and a blue 'Done' button highlighted.

Step 6. Ensure Mail is checked and click Done