Outlook 2013 Email Setup
This guide will help you set up a new email account with the proper server settings in Outlook 2013.
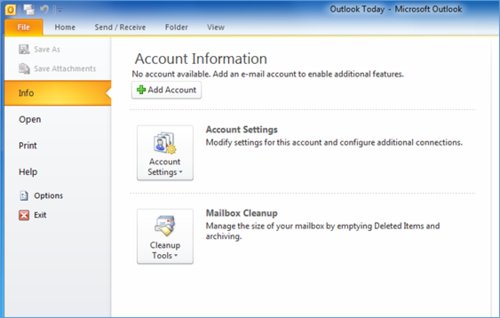
Step 1. Navigate to your Account Settings:
Open Outlook 2010 or 2013
Click the File menu (top left)
Click +Add Account
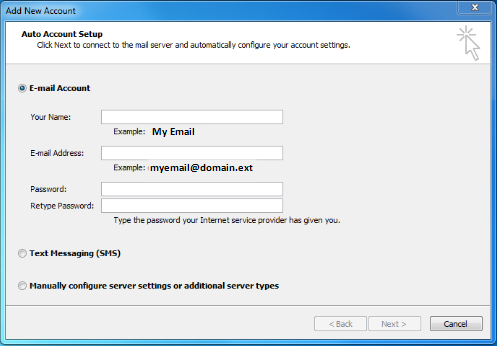
Step 2. The Add New Account window will open:
Enter Your Name
Enter Your full E-mail Address
Enter Your Password
Click Manually configure server settings or additional server types
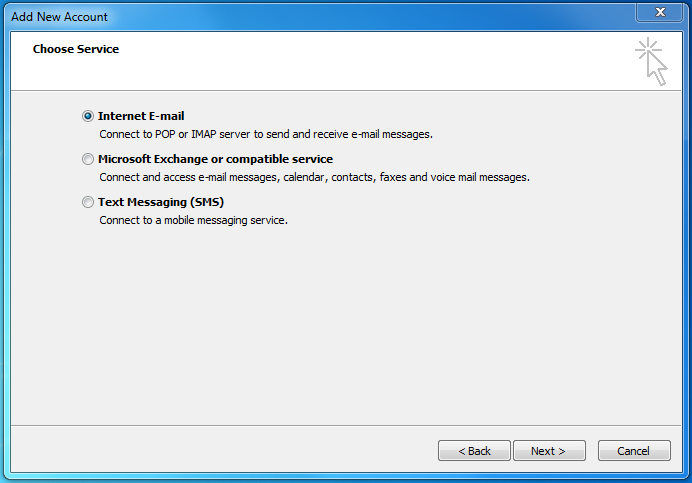
Step 3. The Add New Account window will change and require you to Choose Service
Select Internet E-mail
Click Next
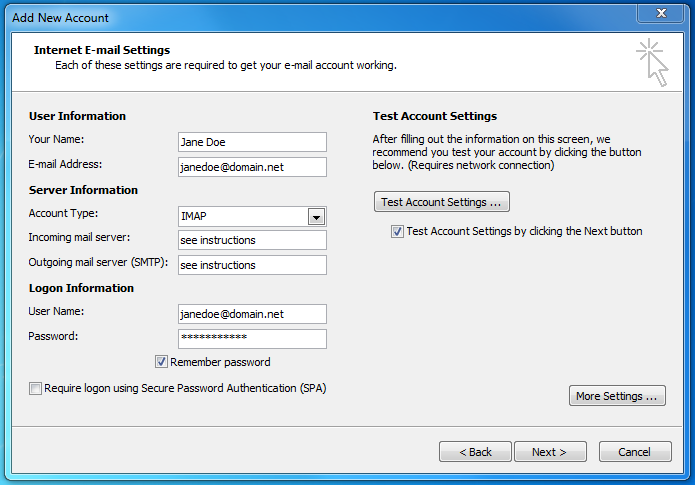
Step 4. Enter your Internet Email Settings
Make sure your Name, Email Address and Password are correctly entered
Ensure your full email address (ex: myemail@lingonetworks.net) is in the User Name box
Click the Account Type drop-down and select IMAP
In the Incoming mail server field enter: pop.lingonetworks.net
In the Outgoing mail server (SMTP) field enter: smtp.lingonetworks.net
Enter your full email address as your User Name
Click More Settings…
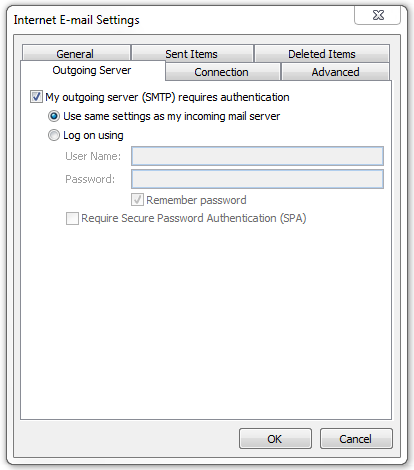
Step 5. Setting up your Advanced Account Settings:
Click the Outgoing Server tab
Make sure that the box for My outgoing server (SMTP) requires authentication is checked
The field < Use same settings as my incoming mail server > should be selected
Click the Advanced tab
Find the Incoming Server (IMAP) drop-down list and select SSL
Find the Outgoing server (SMTP) drop-down list and select SSL
Find the Outgoing server (SMTP) field and enter 465 (you may need to change the number in this field)
In the Incoming mail field, make sure that 993 is entered for IMAP
Click OK — you will be returned to the previous window
Click Next>
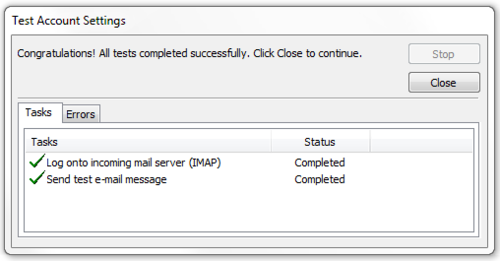
Step 6. The Test Account Settings window will appear and process the test automatically. If you experience an error, double-check all steps for accuracy, make sure your Internet connection is active, and try again.
Step 7. Once your account settings are confirmed by the system, you are finished! Click Close to exit the setup window.