
Thunderbird Email Setup
This guide will help you set up a new email account with the proper server settings in Thunderbird.

Step 1. Navigate to your Account Settings
Open Thunderbird
Click on the Email icon under Create a new account (center of window)
Step 2. Enter your @lingonetworks.net email address
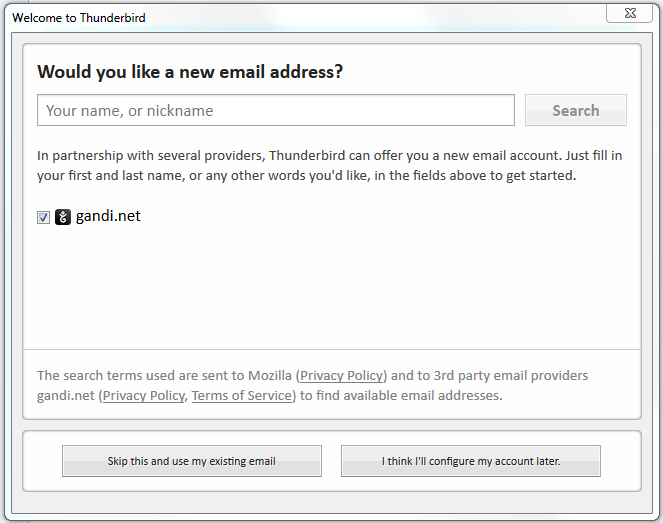
A window will open which poses the question: Would you like a new email address?
Lingo Networks has already provided you with an email address, please click the button at the bottom that states: Skip this and use my existing email
Step 3. The Mail Account Setup window will open
Enter your preference in the Your name field
Enter your full email address, myemail@lingonetworks.net
Enter your Password
Click Continue

Step 4. The system will process your input to find your email configuration
Make sure that IMAP (remote folders) is selected
Click the Manual config button at the bottom of the window

Step 5. Update your Incoming and Outgoing Server Settings
Make sure that the Incoming drop-down is set to IMAP
Edit the Incoming Server Name to: pop.lingonetworks.net
Ensure that the Incoming Port field is displaying 993
Make sure that the Incoming SSL drop-down is set to SSL/TSL (Accept all certificates)
Select the Incoming Authentication method drop-down and choose Normal password
Edit the Outgoing Server Name to: smtp.lingonetworks.net
Make sure that the Outgoing Port field is set to 465
Make sure that the Outgoing SSL drop-down is set to SSL/TSL (Accept all certificates)
Select the Outgoing Authentication method drop-down and choose Normal password
Enter your full email address (ex: myemail@lingonetworks.net) into both User Name fields (Incoming and Outgoing)
Click Done
